Quickstart: Report a simplified invoice to ZATCA
Learn how to onboard your device and report your invoices using the ZATCA Fatoora portal simulation or live environments.
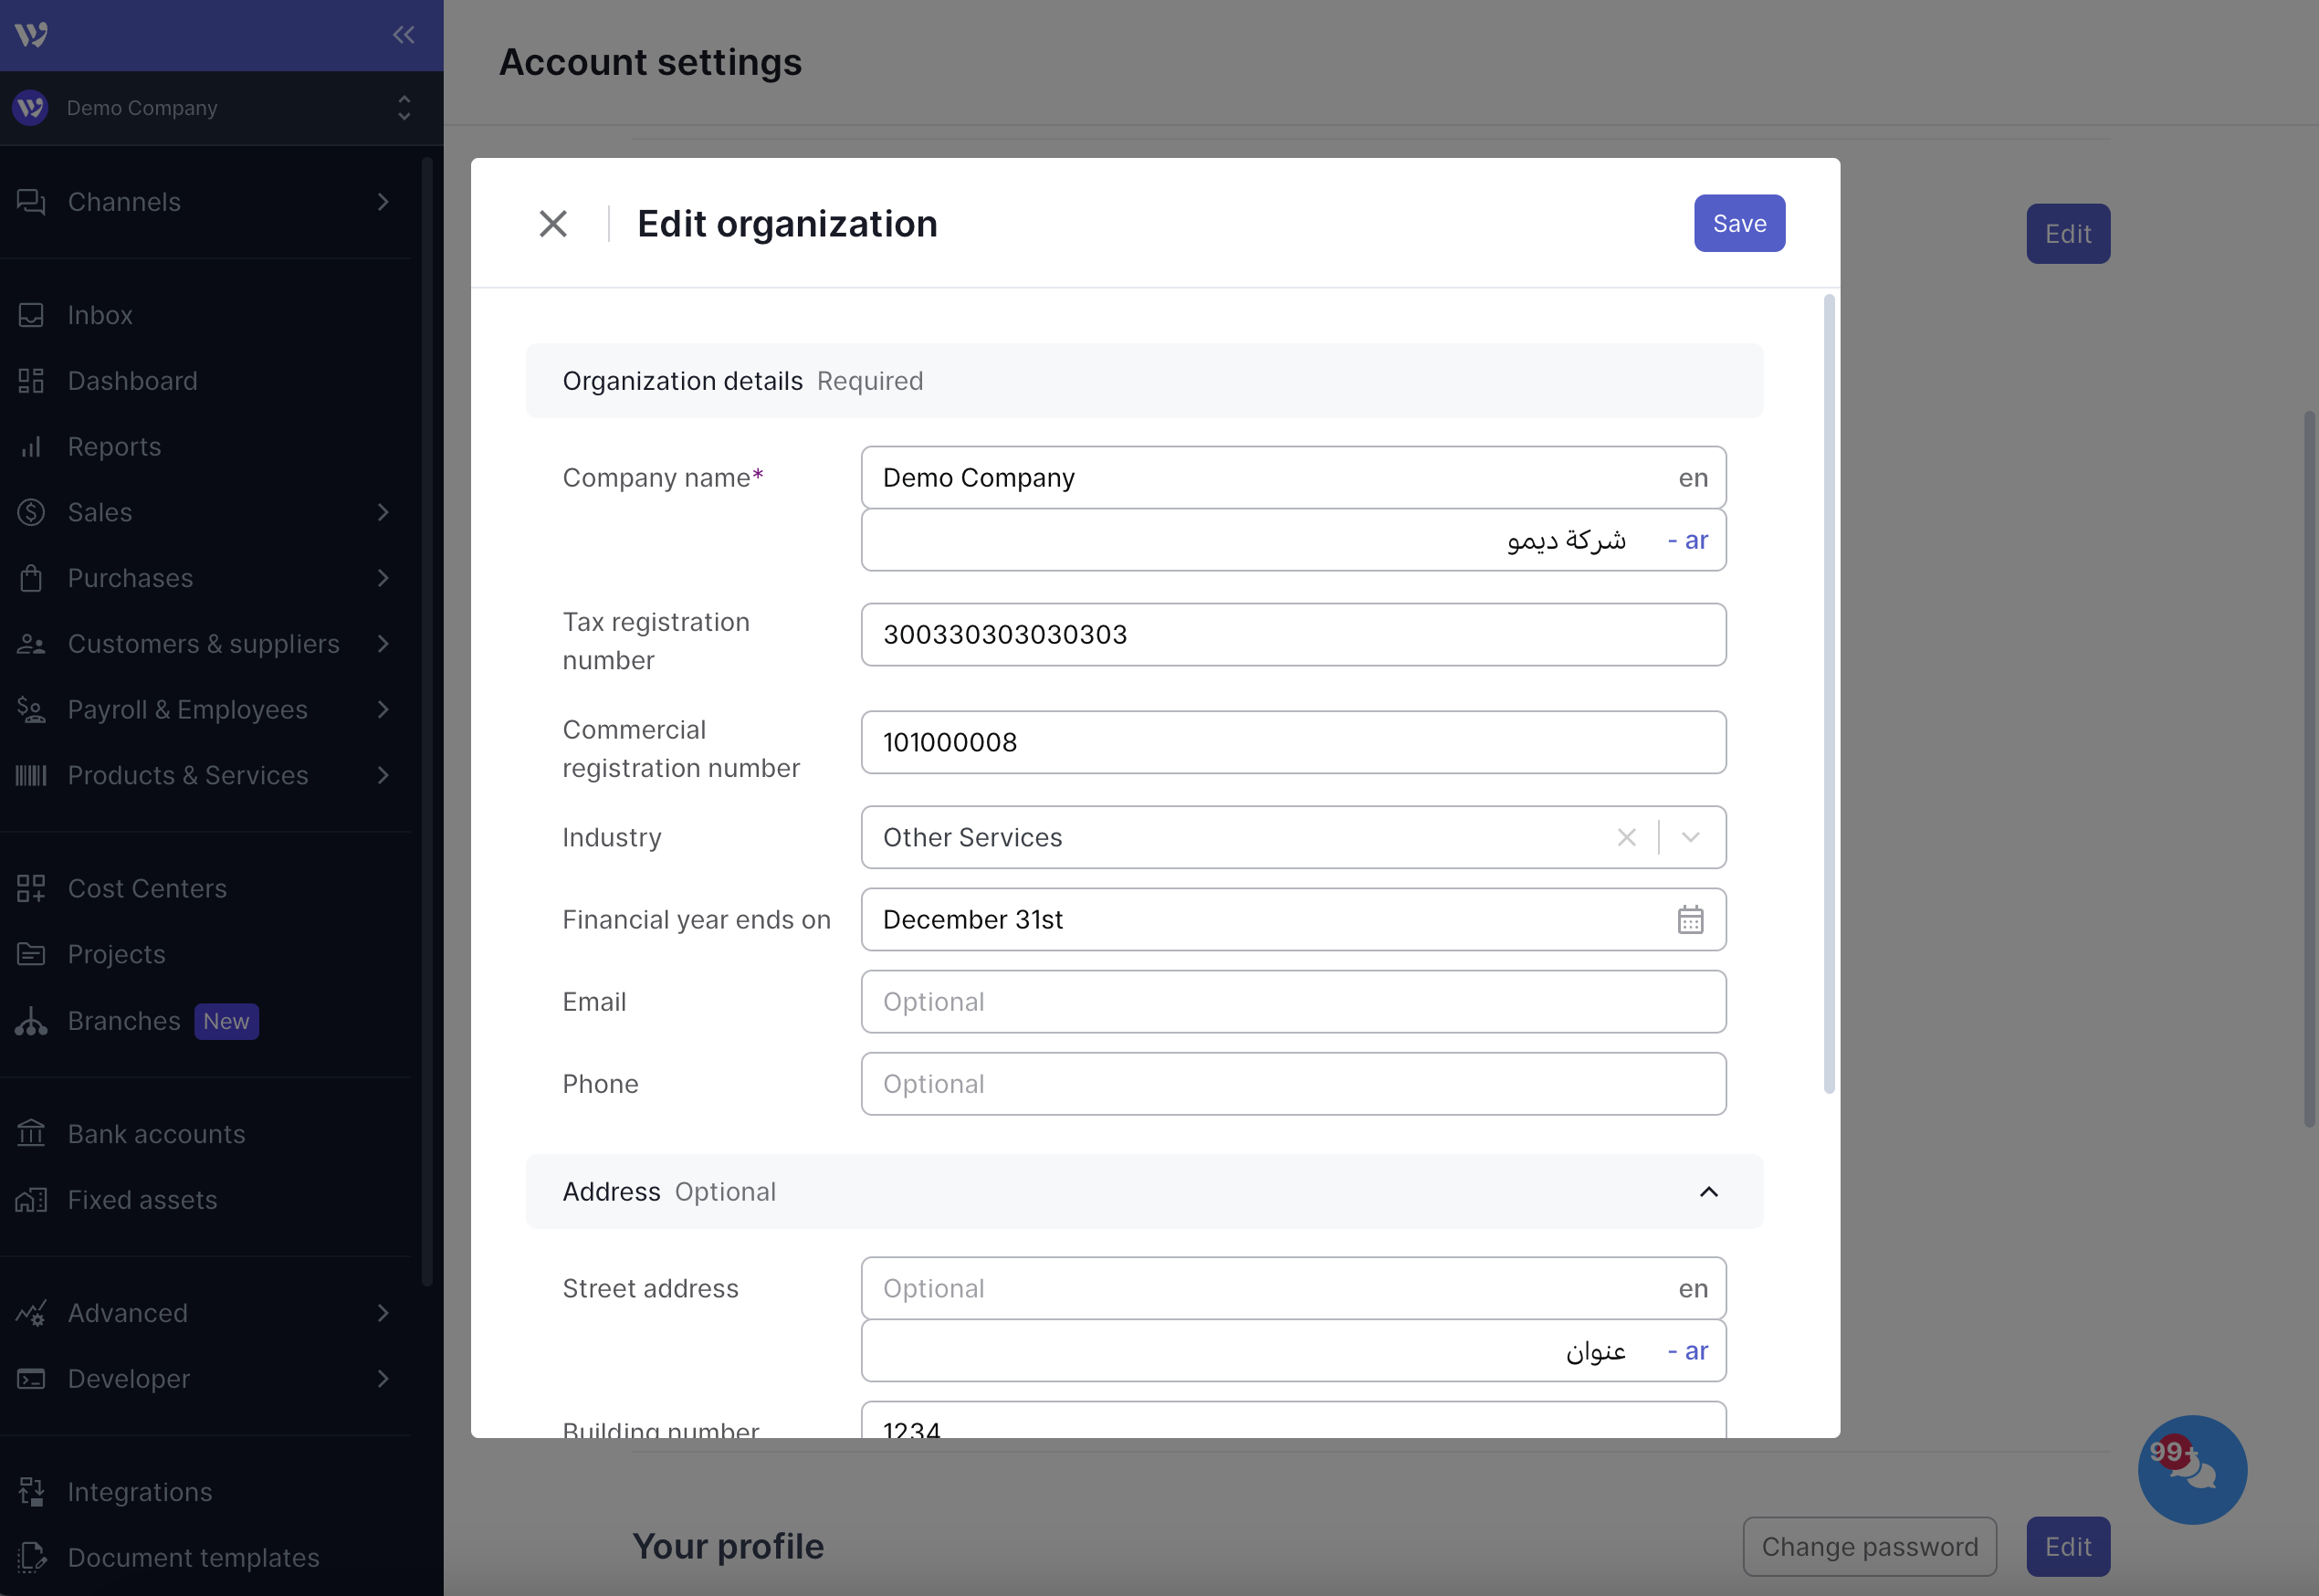
Step 1: Enter your organization details in Wafeq
Log into your Wafeq account and complete the following required fields:
- Company name
- Tax registration number
- Commercial registration number
- Full address:
- Street address
- Building number
- District
- City
- Country
- Postal code
Screenshot from Wafeq
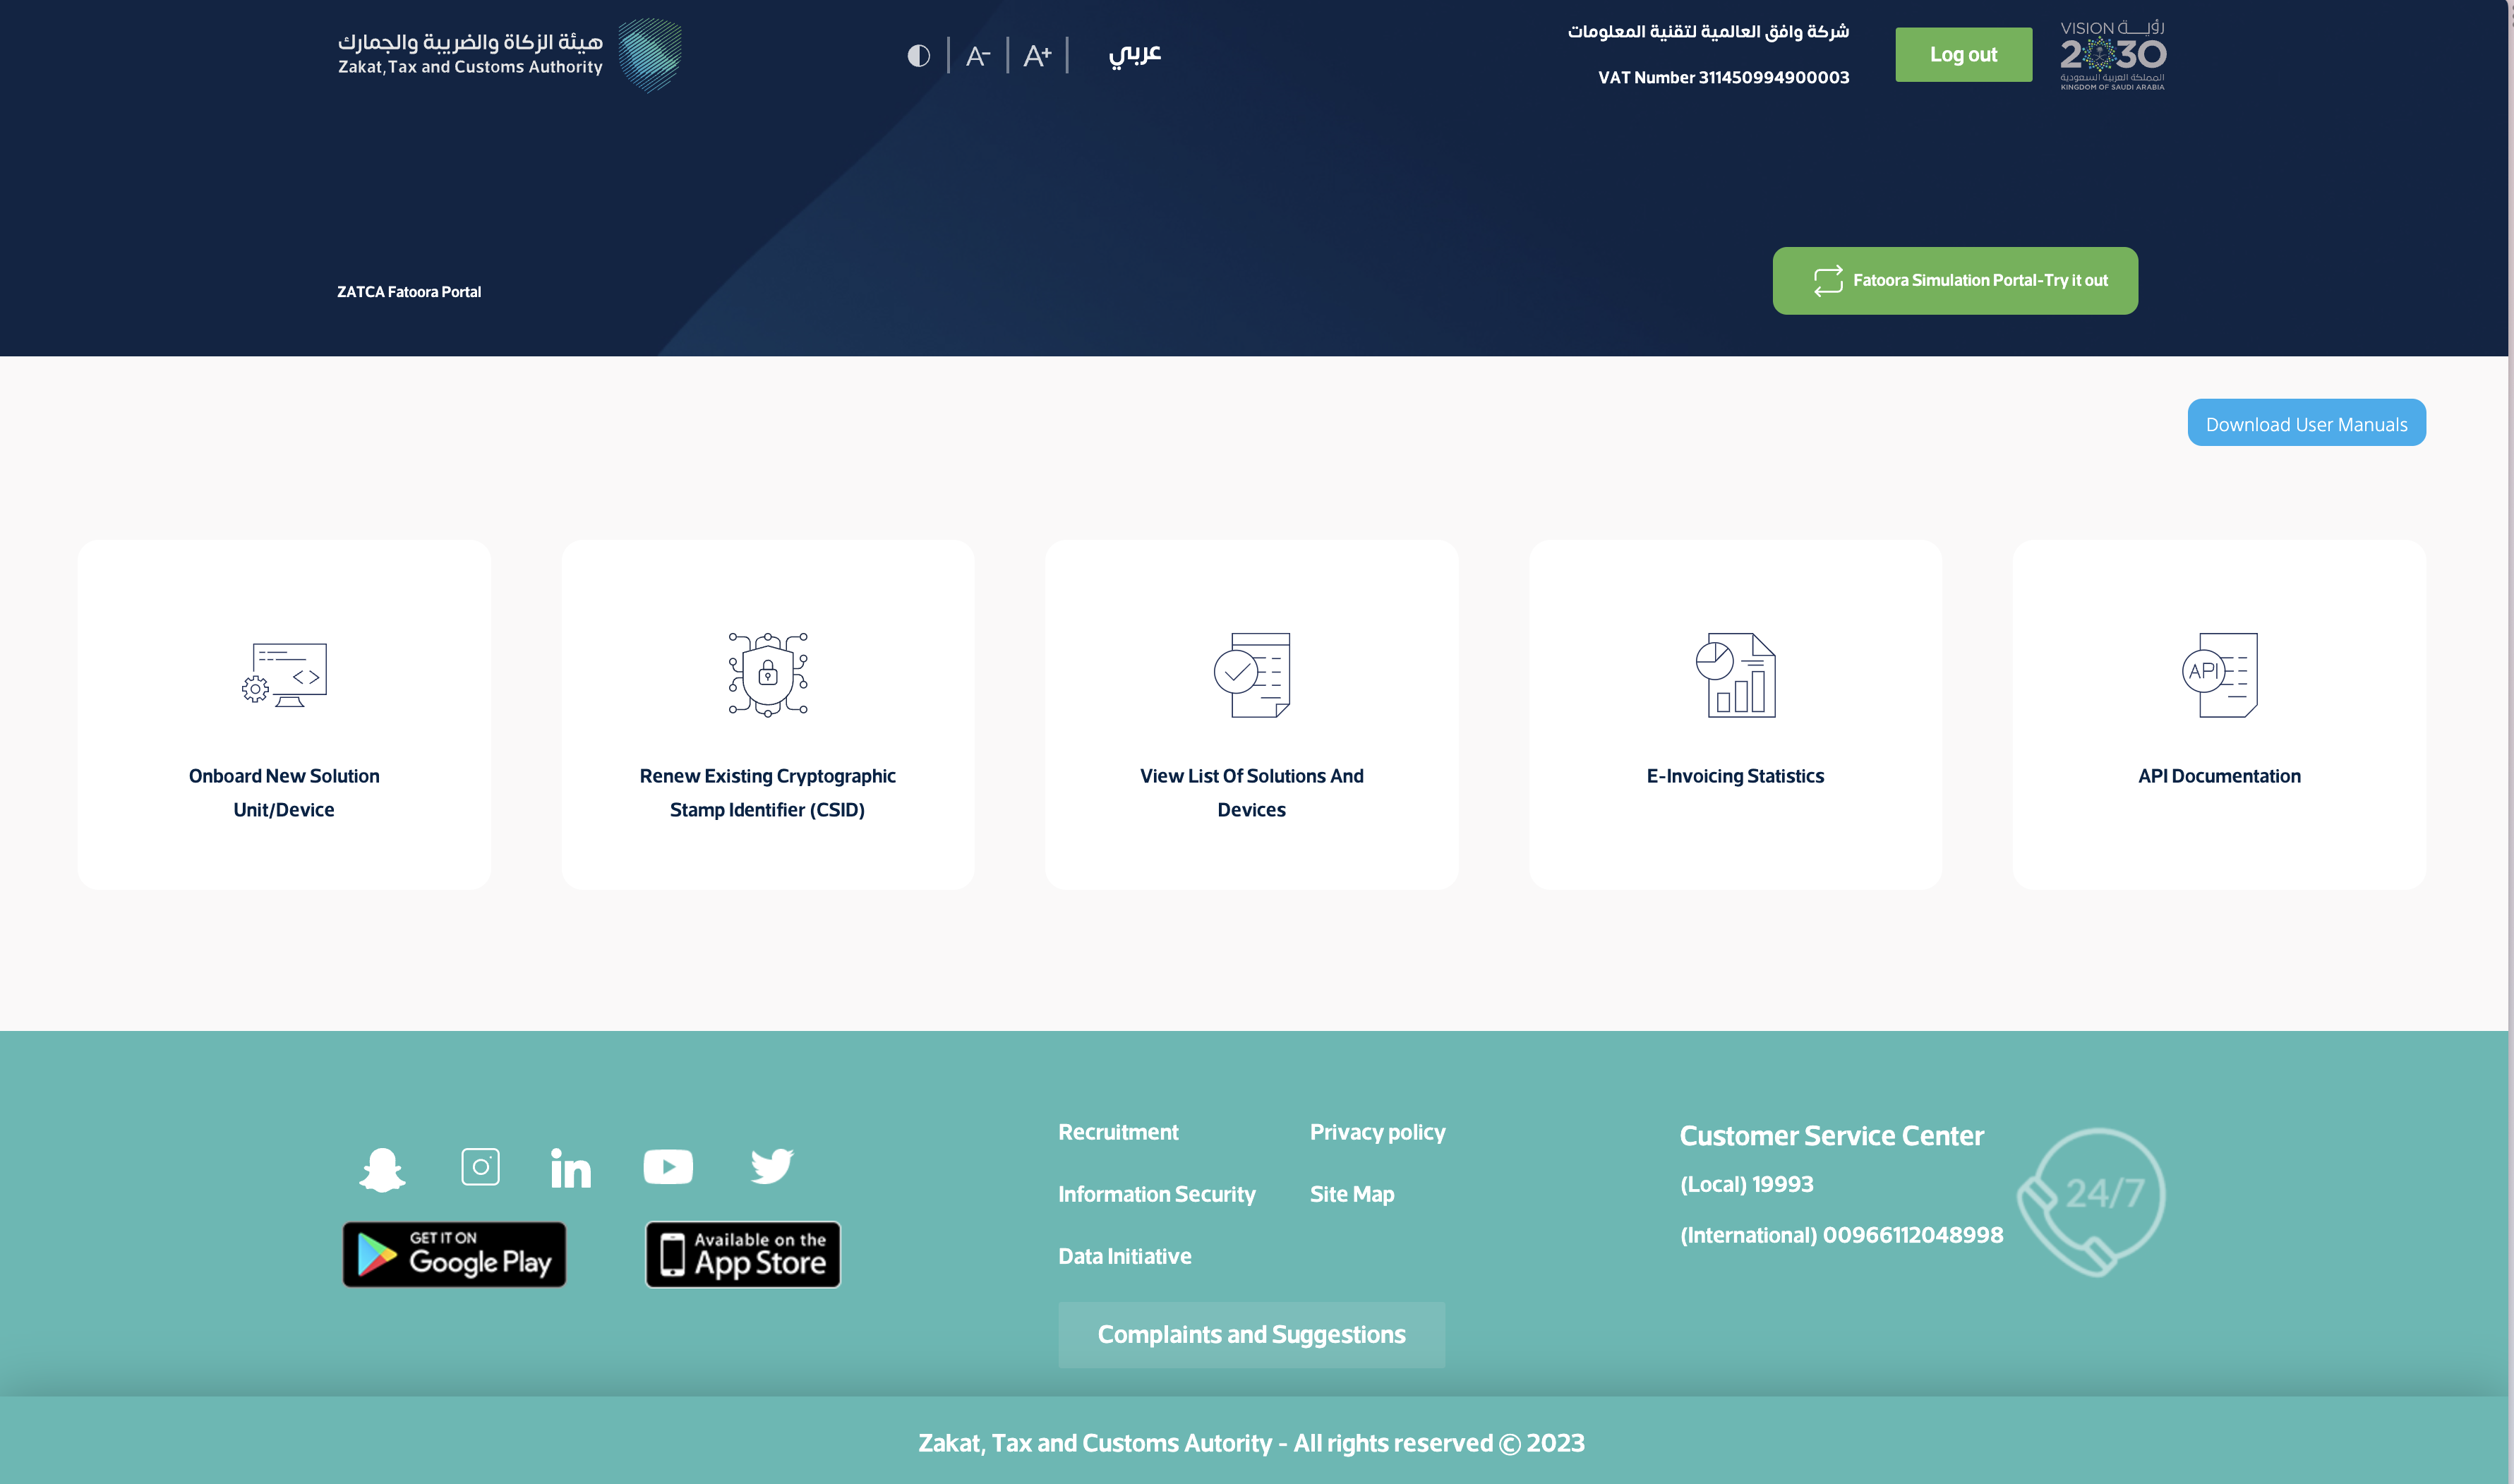
Step 2: Accessing the ZATCA Fatoora Portal
Visit the ZATCA Fatoora Portal. The URL for the portal is: https://fatoora.zatca.gov.sa/
Once the website has loaded, log in with your credentials.
Step 3: Switching to the Simulation Environment
Once you've logged into the portal, you'll see a button labeled Fatoora Simulation Portal. Click on this button to switch to the Simulation Environment. The Simulation Environment is similar to a sandbox where API calls using registered devices won't be submitted to ZATCA. This environment is ideal for testing and development.

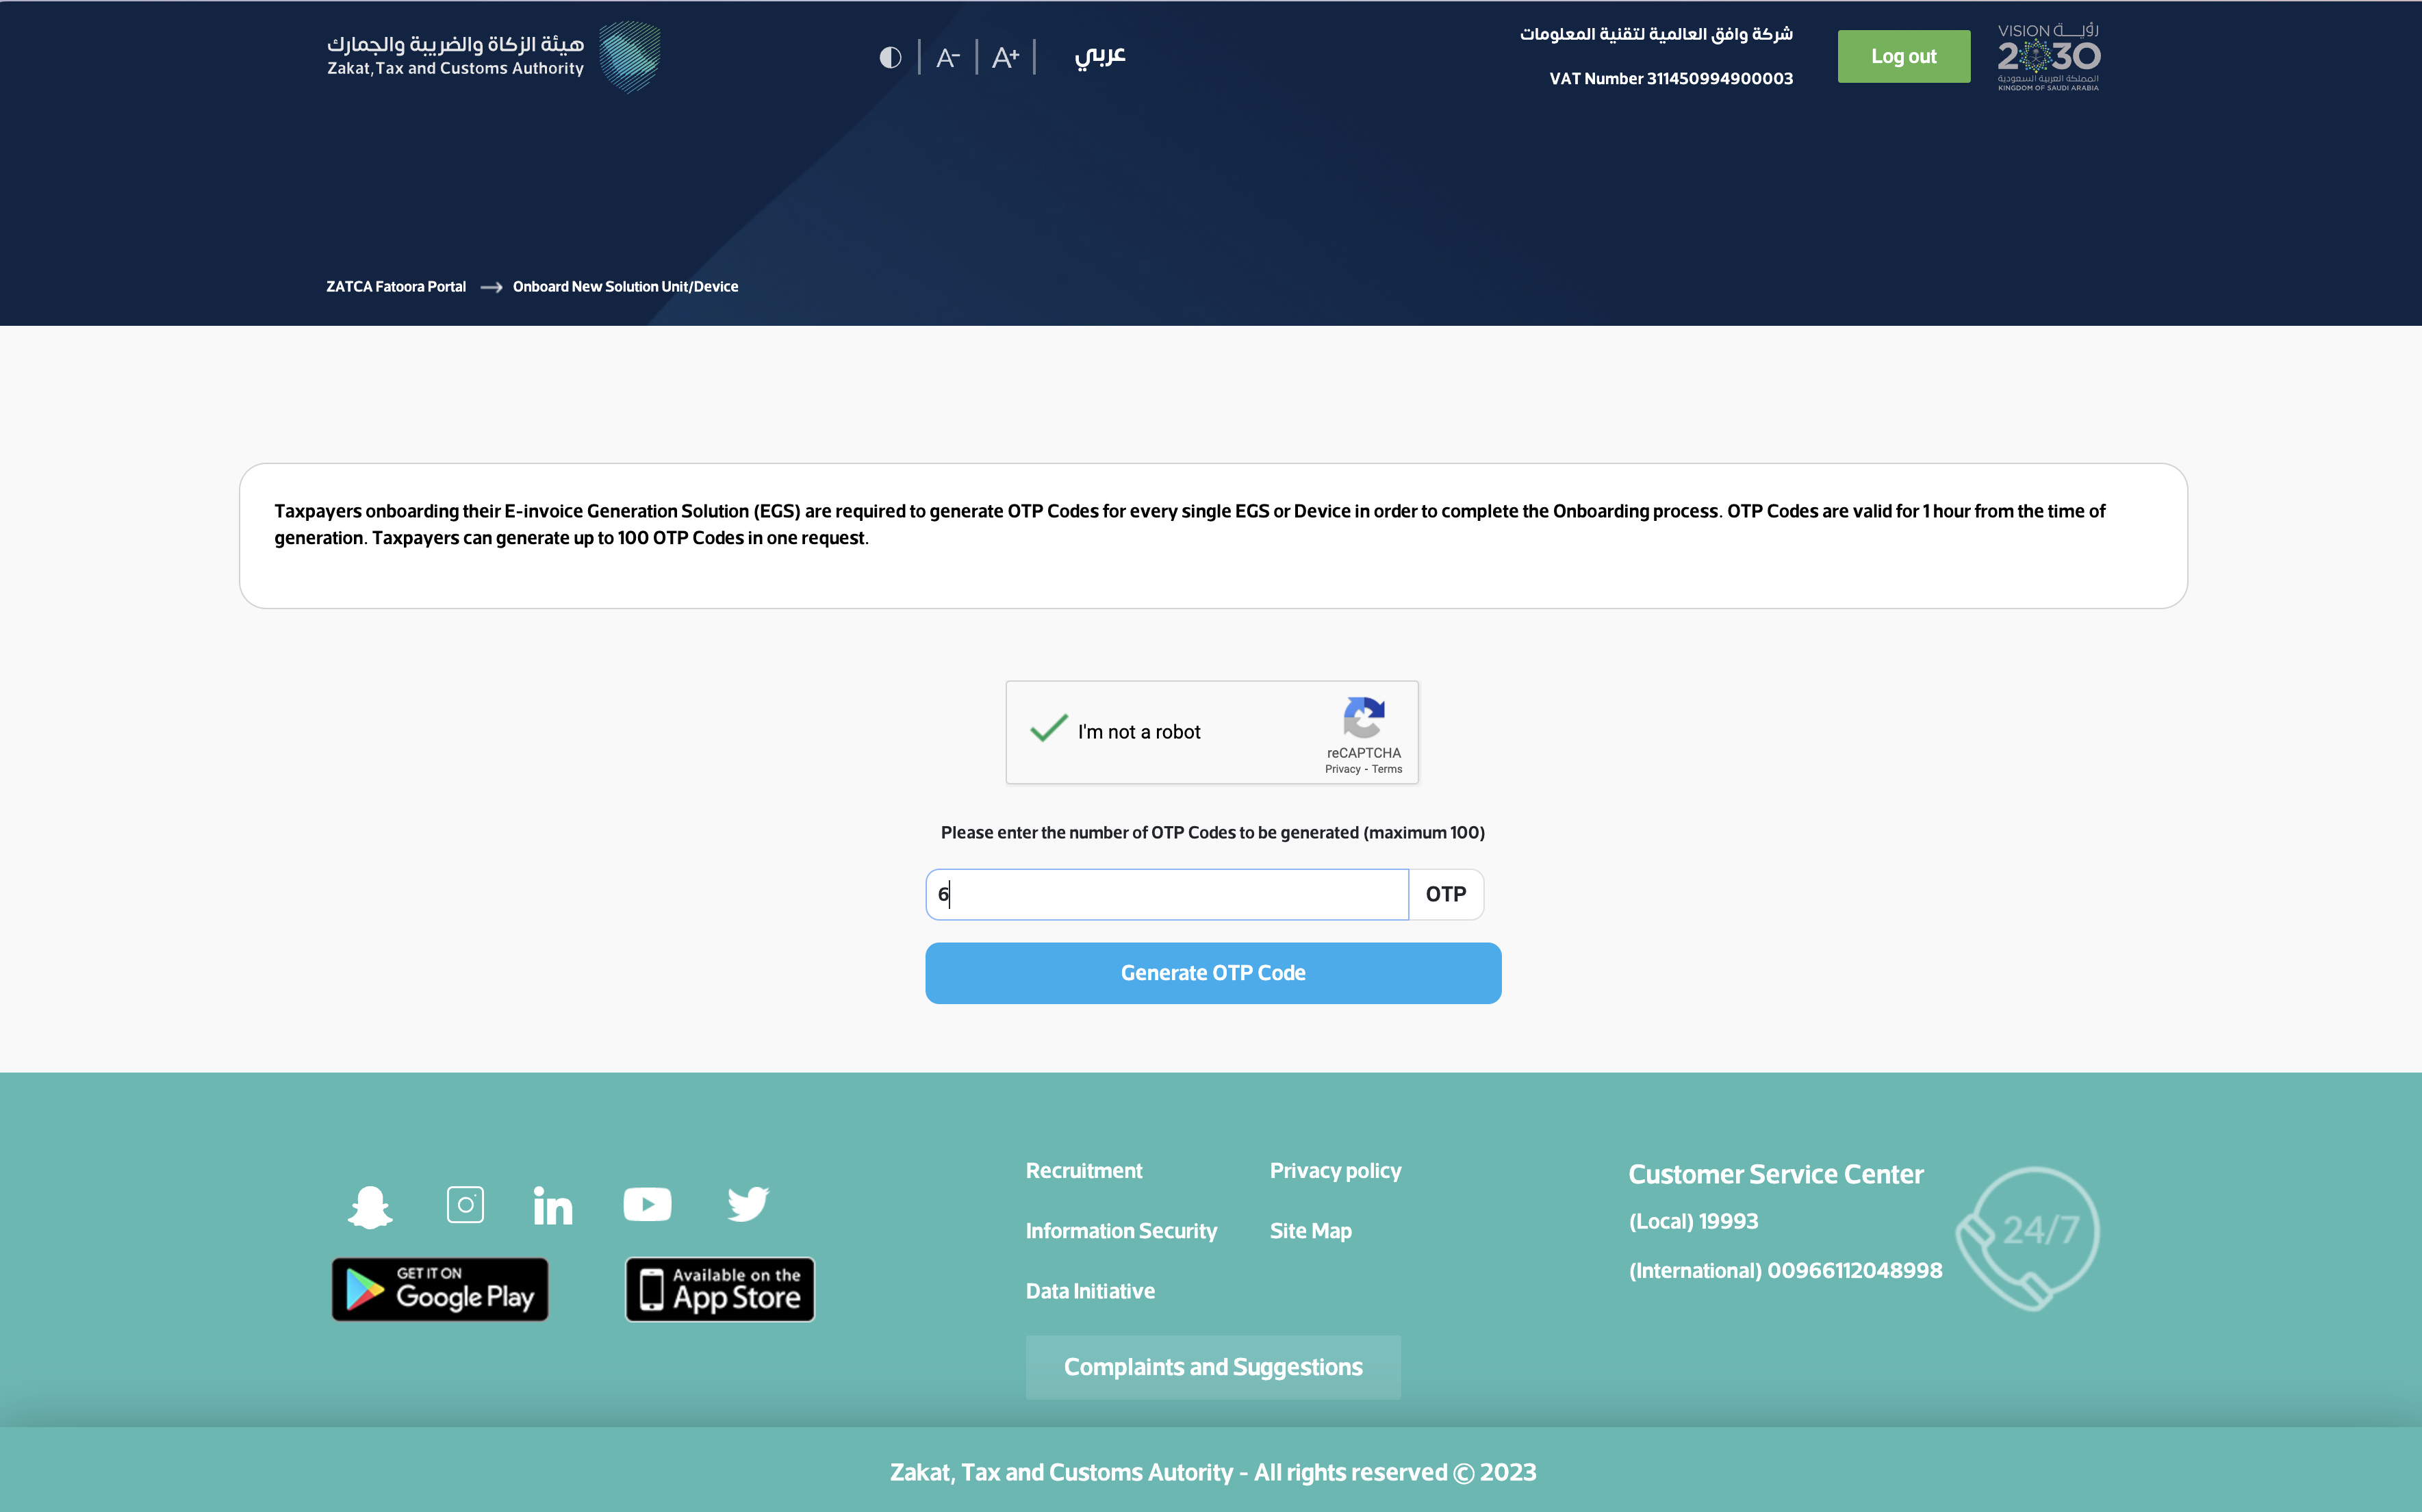
Step 4: Onboarding a Device to the Simulation Environment
In the Simulation Environment, locate the card that says Onboard New Solution Unit/Device and click on it. Here, you'll be prompted to enter the number of devices you wish to onboard.
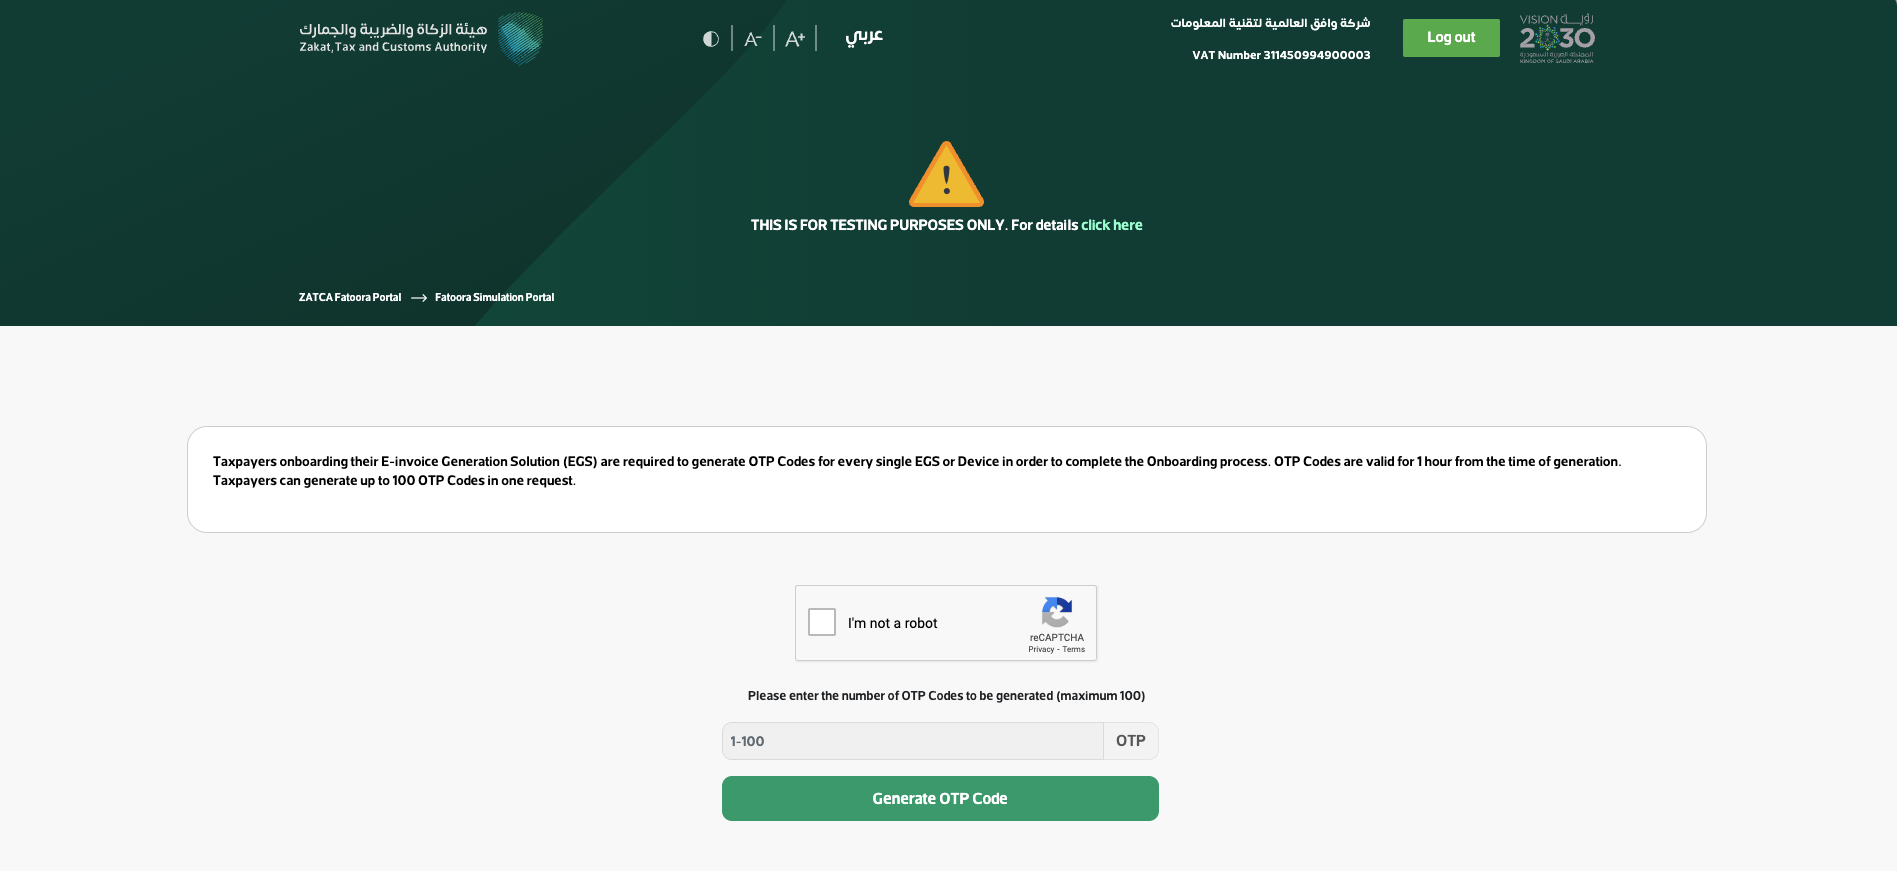
After filling in the captcha and submitting the number of devices you wish to onboard, you will receive unique OTPs (One-Time Passwords) for each device. Remember, these OTPs are only valid for up to 1 hour.
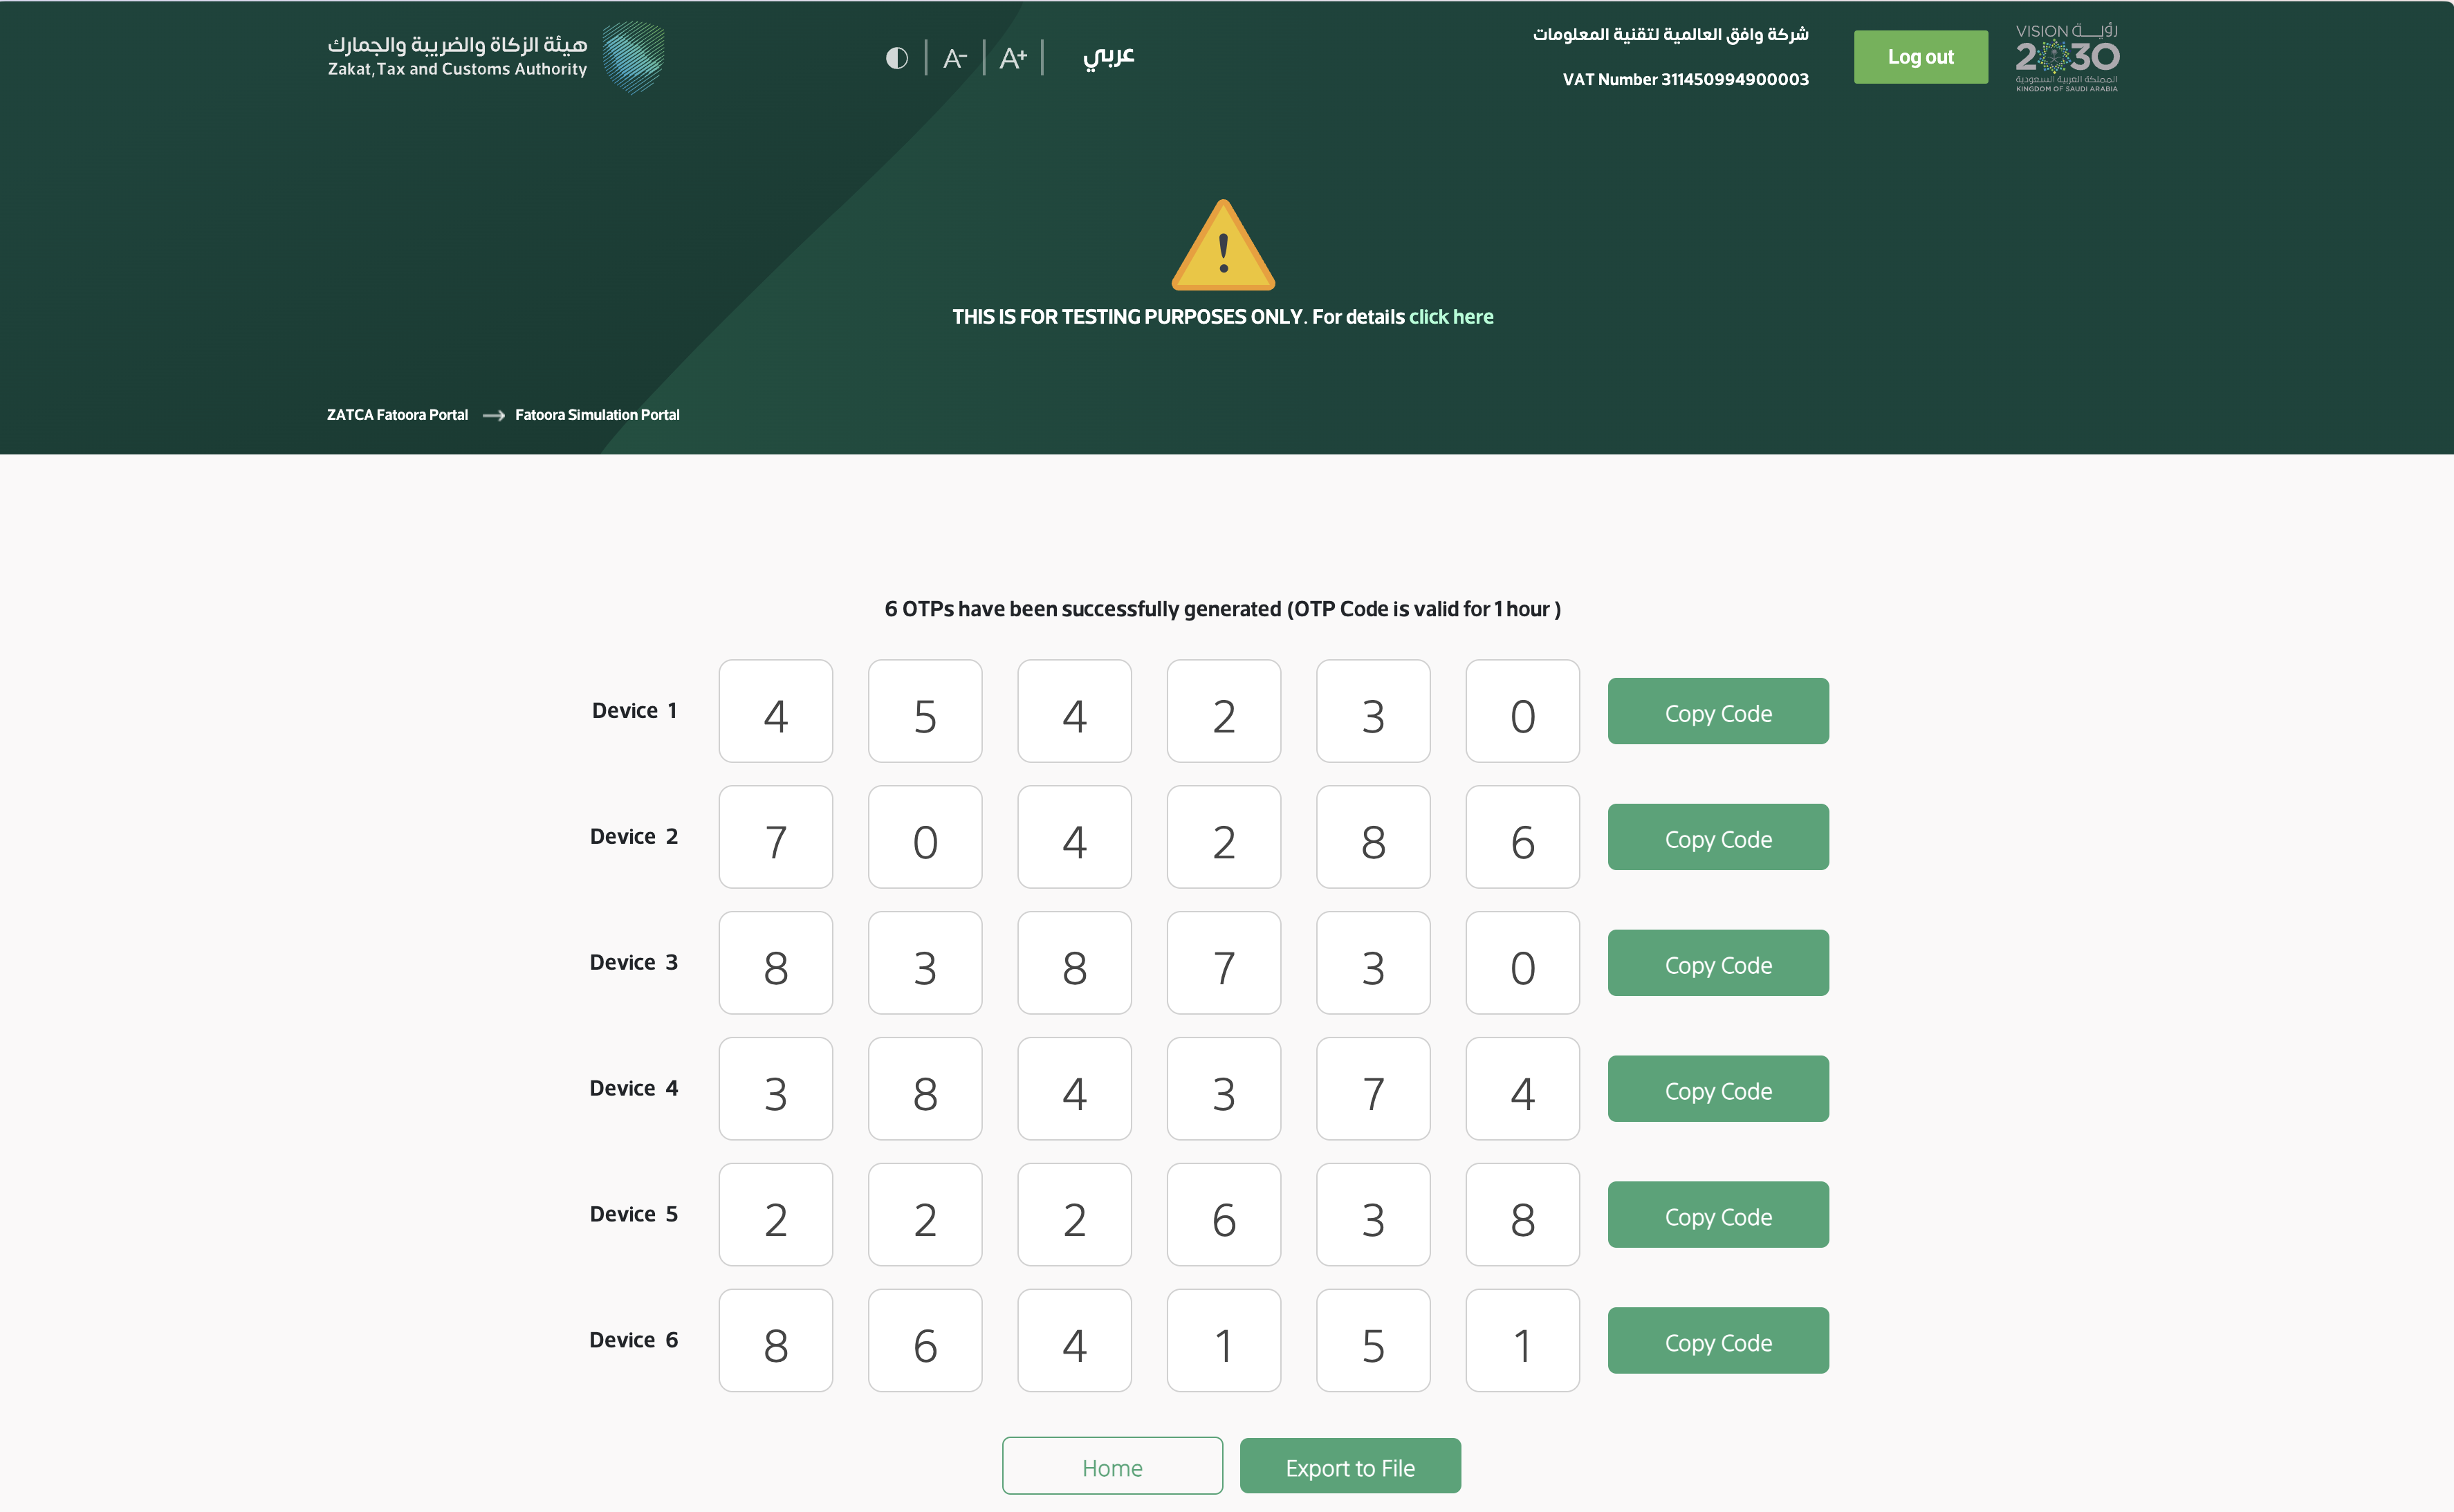
You will need to use these OTPs to make a Register Device API call for each device. Wafeq will handle the rest of the process for you.
Here's a sample request:
curl --request POST \
     --url https://api.wafeq.com/v1/zatca/devices/register/ \
     --header 'Authorization: Api-Key <Your API Key>' \
     --header 'Accept: application/json; version=v1' \
     --header 'Content-Type: application/json' \
     --header 'X-ZATCA-Environment: simulation' \
     --data '
{
  "common_name": "Test Device 1",
  "otp": "454230"
}
'
Sample response:
{
    "common_name": "Test Device 1",
    "id": "zdev_1234567890",
    "status": "active",
}
Step 5: Reporting Your First Invoice to the Simulation Environment
Now that your device is onboarded, let's send your first B2C Invoice or a Simplified Invoice, using the Simplified Invoice Report API. Please provide the X-Zatca-Environment header with value as simulation to report to the simulation environment.
Here's a sample request:
curl --request POST \
     --url https://api.wafeq.com/v1/zatca/simplified-invoices/report/ \
     --header 'Authorization: Api-Key <Your API Key>' \
     --header 'Accept: application/json; version=v1' \
     --header 'Content-Type: application/json' \
     --header 'X-Zatca-Environment: simulation'
     --data '
{
	...
  <Simplified Invoice Payload>
}
'
Congratulations! You've successfully reported a Simplified Invoice to the Simulation Environment.
Step 6: Onboarding a Device to the Production Environment
When you are ready to go live, you can switch back to the Production Environment. Similar to the Simulation Environment, click Onboard New Solution Unit/Device and generate OTPs for the devices that you want to onboard to production.
Once you get the OTP, use the Register Device API again, but this time header X-Zatca-Environment=production.
Here's a sample request:
curl --request POST \
     --url https://api.wafeq.com/v1/zatca/devices/register/ \
     --header 'Authorization: Api-Key <Your API Key>' \
     --header 'Accept: application/json; version=v1' \
     --header 'Content-Type: application/json' \
     --header 'X-ZATCA-Environment: production' \
     --data '
{
  "common_name": "Real Device 1",
  "otp": "583844"
}
'
Sample response:
{
    "common_name": "Real Device 1",
    "id": "zdev_0987654321",
    "status": "active",
}
Step 7: Reporting Your First Invoice to the Production Environment
Now that your device is onboarded to the production environment, you can make the same API call as you did in the Simulation Environment, but provide the appropriate environment in the header to report to the production environment.
Here's a sample request:
curl --request POST \
     --url https://api.wafeq.com/v1/zatca/simplified-invoices/report/ \
     --header 'Authorization: Api-Key <Your API Key>' \
     --header 'Accept: application/json; version=v1' \
     --header 'Content-Type: application/json' \
     --header 'X-Zatca-Environment: production' \
     --data '
{
	...
  <Simplified Invoice Payload>
}
'
Congrats! You've reported your first invoice to ZATCA's Production Environment. Remember to always use the correct device ID and the corresponding environment (simulation or production) for your API calls.
Happy invoicing!
Updated 6 months ago